Editor Workflow
This guide explains how the Sendama editor is structured and how to move through the most common authoring loop.
Mental Model
The editor has three main jobs:
- manage scene hierarchy and scene metadata
- manage project assets such as prefabs, textures, tile maps, scripts, and events
- inspect and edit object, scene, prefab, and file properties
The usual loop is:
- select something in
HierarchyorAssets - inspect and edit it in
Inspector - place or preview it in
Main - save when the change affects a scene
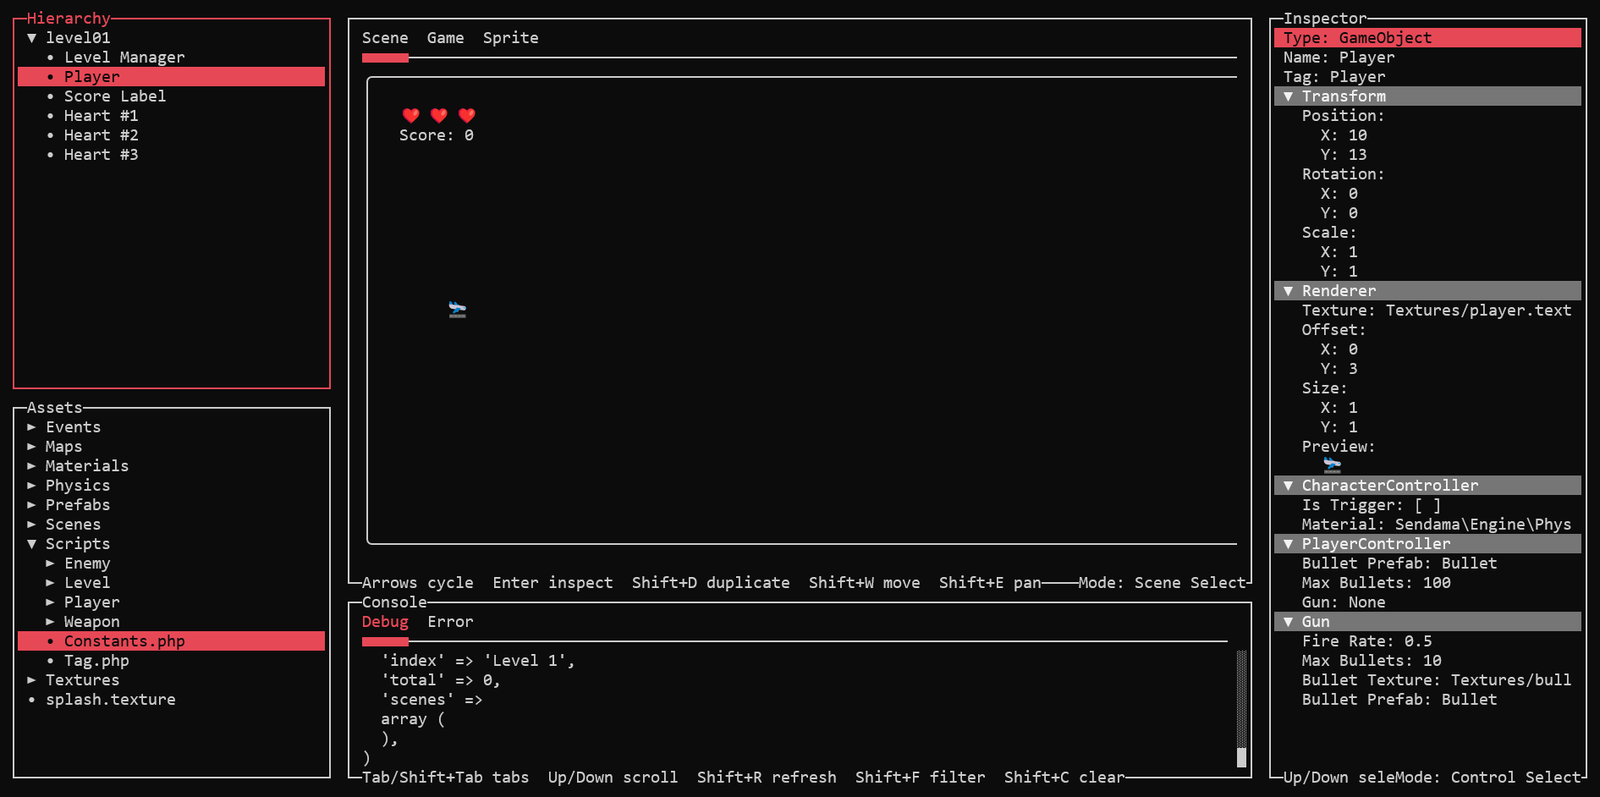
Panel Overview
Hierarchy
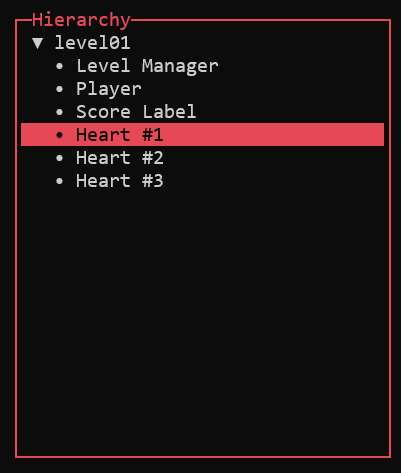
Shows the active scene and its object tree.
Use it to:
- inspect the scene root
- add objects
- select objects
- duplicate or delete objects
- export objects as prefabs
- reorder objects
- parent and unparent objects through drag and drop
Important hierarchy behaviors:
- dragging an object onto another object parents it under that object
- dragging an object onto the scene row makes it a root object
- dragging an object onto empty hierarchy space also unparents it back to the root
Assets
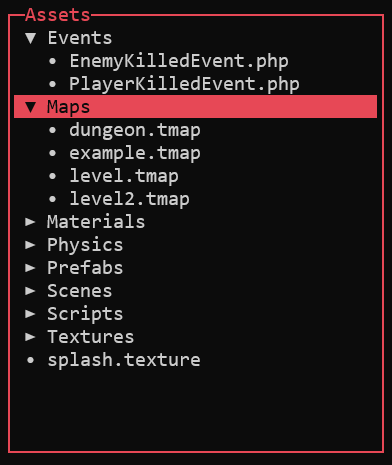
Shows the project asset tree rooted at Assets or assets.
Use it to:
- browse folders and files
- create scenes, prefabs, scripts, events, textures, and tile maps
- inspect files
- open textures and tile maps in the
Spritetab - open prefabs in the
Inspector
Main

This is the work surface and has three tabs:
SceneGameSprite
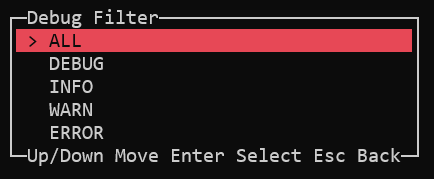
Console
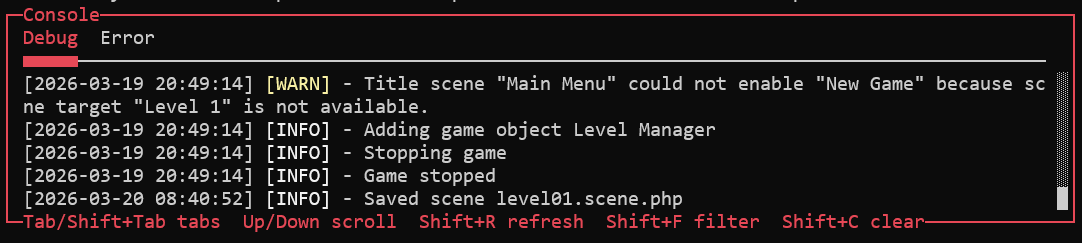
Shows the current project logs:
logs/debug.loglogs/error.log
It is most useful while playtesting or when you want to confirm that a recent edit is producing the behavior you expect.
Inspector
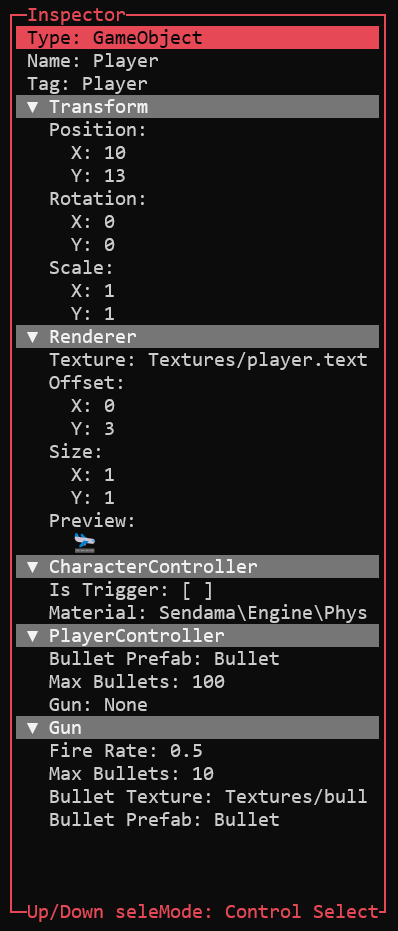
Shows editable controls for the current target.
It can inspect:
- the scene root
- hierarchy objects
- prefab files
- files and folders in the asset tree
The inspector automatically chooses suitable controls for common value types such as:
- text
- numbers
- booleans
- paths
- prefab references
Vector2values
Main Panel Modes
Scene Tab

The scene tab is where you visually select and place visible objects.
It has three modes:
Shift+Q: select modeShift+W: move modeShift+E: pan mode
In select mode:
- arrow keys cycle through visible objects
Enterreloads the selected object inInspector
In move mode:
- arrow keys update the selected object's position
In pan mode:
- arrow keys move the viewport without changing the object's data
Game Tab
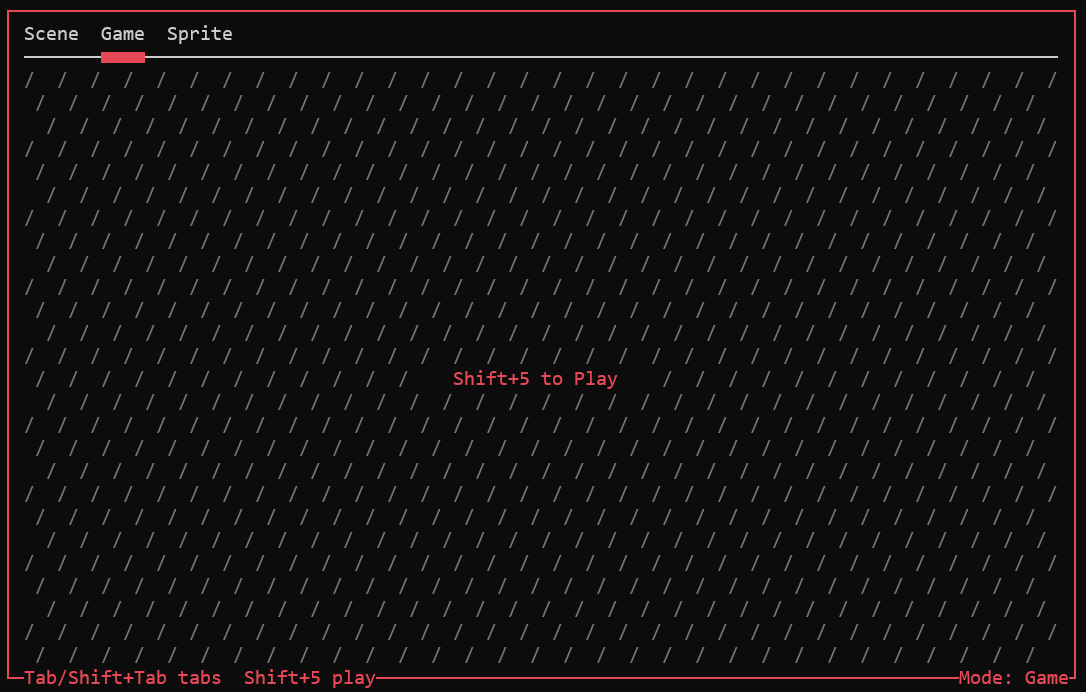
The game tab is the play-oriented editor state. Use Shift+5 to toggle it.
This is useful for:
- keeping the editor in its play layout
- auto-refreshing the console panel
- monitoring logs while the game runs elsewhere
Treat it as a support view, not as the main game runtime surface.
Sprite Tab (a.k.a. Sprite Lab)
The sprite tab edits:
.texturefiles.tmapfiles
Open one by selecting it in Assets and pressing Enter.
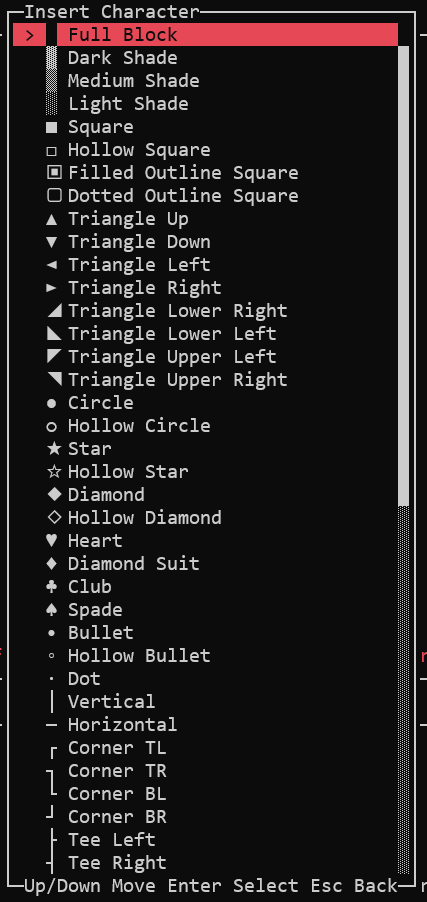
- Shift+2 opens the character picker, which lets you insert Unicode characters by name or code point. It is especially useful for pixel art that uses special symbols.
Core Shortcuts
Global
Shift+1: cycle panel focusShift+5: toggle play stateCtrl+S: save the active sceneCtrl+C: quit the editor
Hierarchy
Enter: inspect selected itemShift+A: add objectShift+D: duplicate selected objectShift+E: export selected object as prefabDelete: delete selected objectQ: select modeW: move mode for hierarchy reordering
Assets
Enter: inspect asset or open it in the correct surfaceShift+A: create assetDelete: delete selected asset
Sprite
- arrow keys: move the cursor
- printable character: draw
Space: draw a blank cellBackspace: erase current cellShift+2: open the character pickerCtrl+Z: undoCtrl+Y: redoShift+R: reset to the loaded state
Save And Persistence Rules
Scene work and asset work do not save the same way.
Saved On Ctrl+S
- scene root edits
- hierarchy additions and deletions
- hierarchy parenting changes
- transform edits made against scene objects
- scene object component edits
- scene path updates caused by asset rename
Saved Immediately
- prefab edits
- texture and tile map drawing
- file renames
- file deletions
- exported prefab files
A Reliable Session Pattern
- Select the scene root and set up scene-level values.
- Add or select objects from
Hierarchy. - Edit exact values in
Inspector. - Place them visually in
Main -> Scene. - Create or update related assets in
Assets. - Press
Ctrl+Swhen scene data changed. - Use
sendama playfor a full runtime check.
The next guide, Scene Authoring Basics, walks through building one playable scene step by step.